
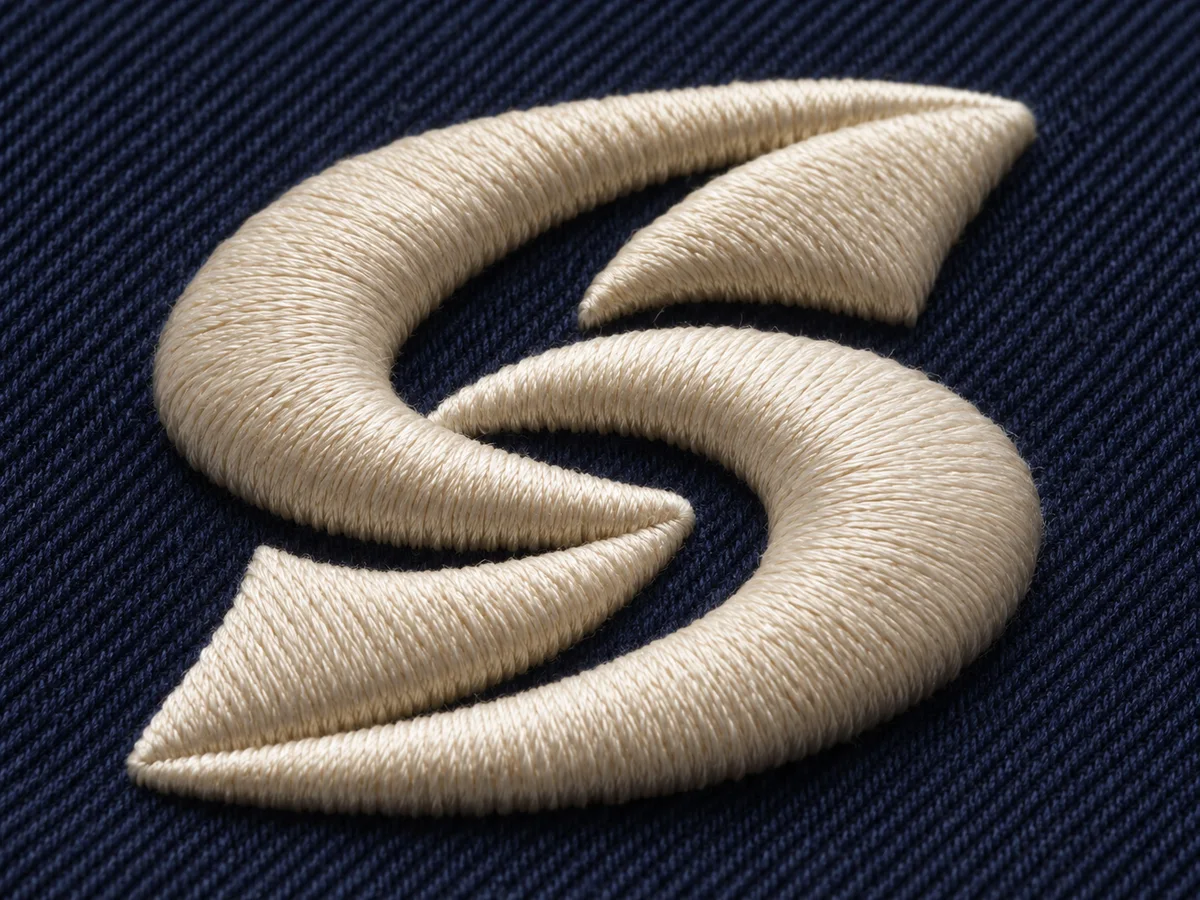
Compare 3d puff embroidery for your garment brief: Raised letters and simple emblems on caps and substantial garments. Confirm the proposed specification on a physical sample.
Foam is commonly placed beneath the stitching and covered with thread to create raised letters or contours.
What to compare in the image
The angled example shows height, edge shadows and dense stitches. Puff print also creates relief, but 3D embroidery has a threaded surface; compared with flat embroidery the outline is thicker.
Properties and limitations
Broad strokes and enclosed shapes are useful starting points. Check exposed foam, end coverage and fabric support; small flat-embroidery lettering cannot always be reused unchanged.
External visual samples, not a factory sample.
How to specify 3d puff embroidery
Review stitch direction, density, thread, backing and the inside finish on the actual garment fabric. Small letters and dense filled areas may need simplification or a different scale. Check puckering, distortion and skin contact after the agreed care cycle; a digital embroidery file is not a finished approval sample.
What to send for sampling and a quotation
- Garment samples, intended wear and destination market.
- Material composition, weight, colour and the proposed finish.
- Quantity by style and colour, target timing and approval responsibility.
- Artwork dimensions and placement; measurement and care requirements.
Sample approval and repeat orders
Keep the approved material or decorated garment, its revision and the agreed check results together. For a repeat order, confirm the material lot, shade, artwork version and current conditions again. Price, minimums and schedule follow the actual specification; photographs show appearance and do not establish tested performance.
Compare fabric options · Compare decoration options · Prepare a development brief · Agree inspection requirements