

Design & development: give your garment a clear specification
Turn a product idea into a brief the sampling team can use. Define the fit, material direction and construction details before asking a sample to prove them.

Build the brief around how the garment will be worn
Begin with the customer and the wearing occasion. A golf polo, a training top and a casual sweatshirt each put different demands on fit, movement, fabric and finishing. Explain the intended use alongside the visual reference so development decisions support the garment's purpose.
Provide a tech pack if you have one. If you do not, send sketches, reference photographs or a physical sample, then identify the details you know and the decisions you need help resolving. Notes such as “relaxed through the body, shorter length, embroidered chest logo” are more actionable than “premium quality”.
- Product category, target wearer and intended activity.
- Front and back references with details marked.
- Target fit, sample size, size range and order outlook.
Outcome: a clear design direction with open questions identified before pattern work begins.
Select materials and decoration as one system
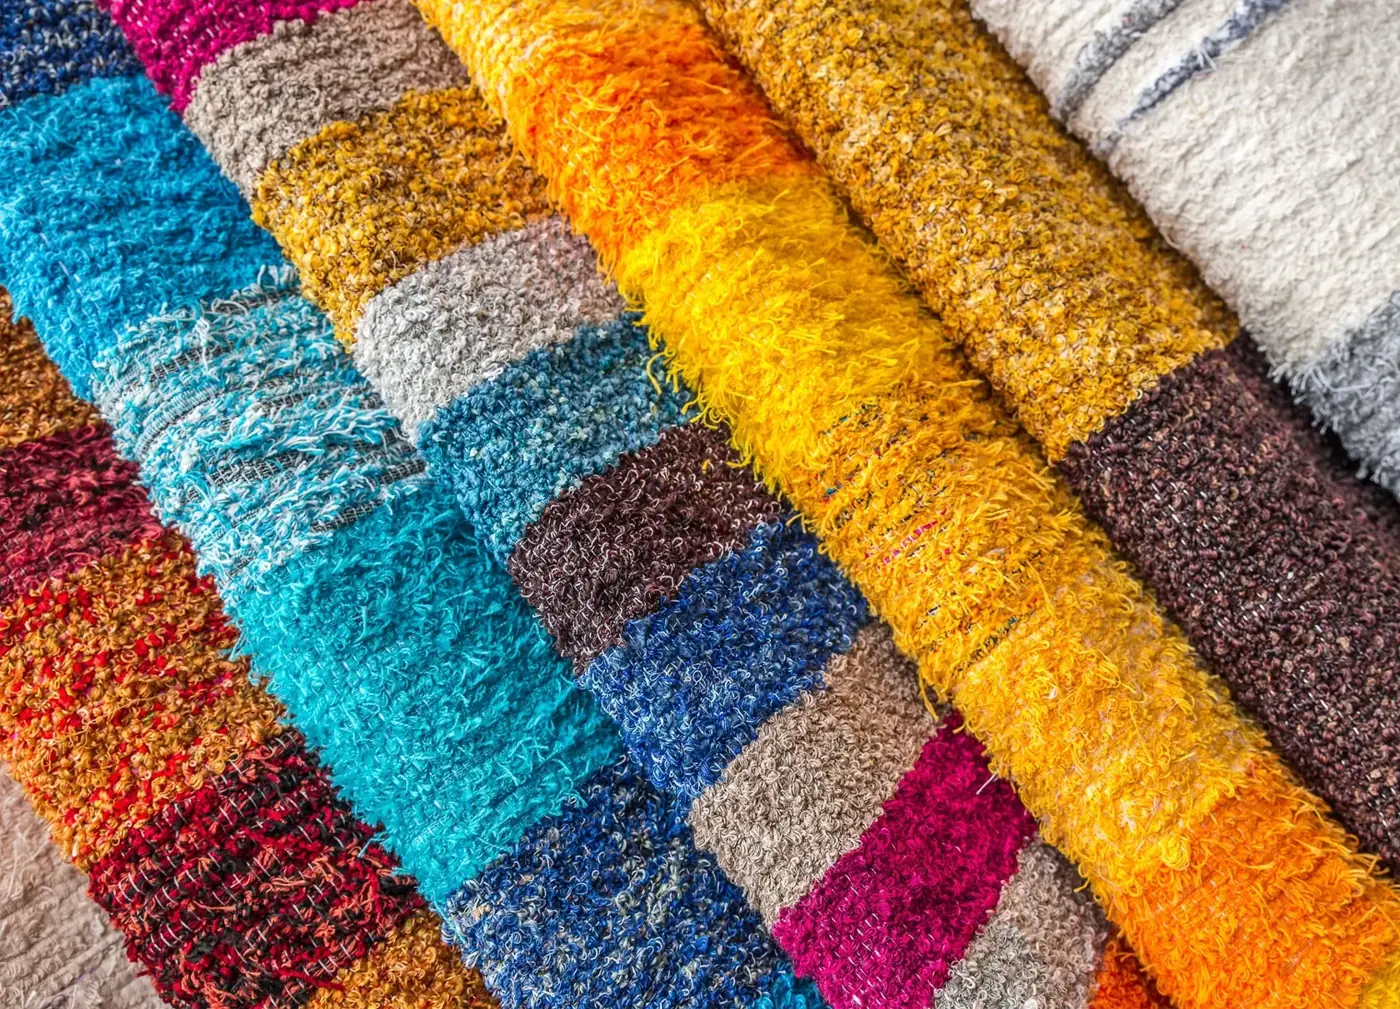
Fabric is part of the design, not just a colour choice. Review composition, weight, texture, stretch and the hand-feel you want. Compare physical references where possible: a photograph cannot show how a fabric drapes or feels against the skin.
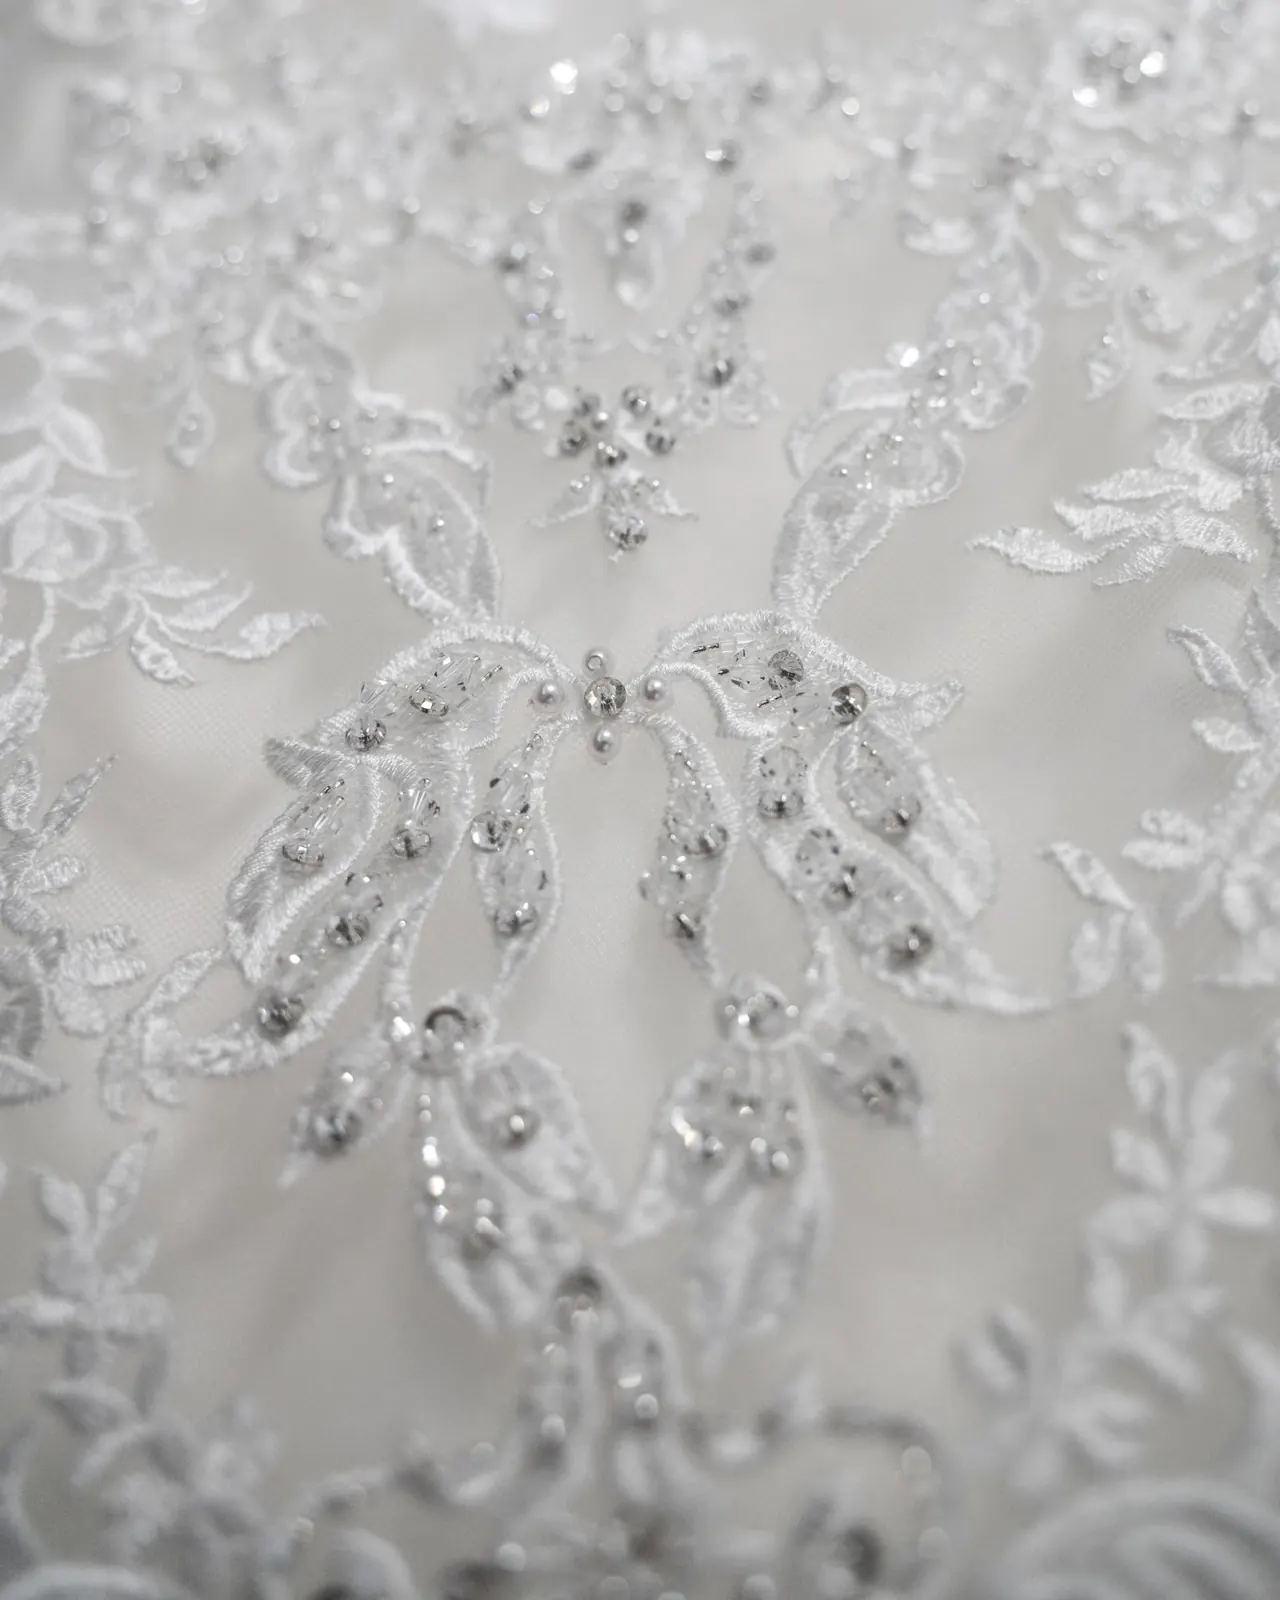
Consider decoration at the same time. A dense embroidered logo can affect a lightweight fabric differently from a heavier knit, while printing needs review against the base material and intended care conditions. Use the fabric library and craftsmanship references to prepare the discussion, then confirm the selected combination on a sample.
- Identify fabric and colour references rather than relying on screen colour alone.
- Define artwork dimensions and placement from garment landmarks.
- List any agreed test, care or label requirements.
Outcome: material, trim and decoration choices that can be evaluated together during sampling.
Close the gaps before the first sample
The development brief should connect drawings, measurements and detail notes. Confirm measurement points, seam and pocket details, artwork files, labels and the sample size. When two references conflict, resolve the difference in the specification rather than leaving the sampling team to guess.
Agree what the first sample is intended to prove. A fit sample made in substitute material answers different questions from a sample using the proposed production fabric. Record outstanding approvals, the revision process, sample charges and the expected schedule for the agreed scope.
- Sampling input: reviewed drawings, measurements and material direction.
- Approval plan: which fit, colour, fabric and decoration decisions will be checked.
- Project scope: sample work, revision expectations, charges and timing.
Next step: move into sampling and production with a brief that can be checked against an actual garment.